 ENG
ENG  ITA
ITA Viewpoint setting
We often overlook the right perspective. Perhaps the main mistake you see in interior renders is that the creator wants to show as much as possible in a picture: usually setting the perspective from a corner, diagonally (so the scene will look insignificant) or from the top down (so it will look smaller) and with a high camera angle (so the scene will look deformed) to fit everything in.

Scene with wrong viewpoint setting
Let's look at the basic rules for setting a good perspective:
1) Set the viewpoint perpendicular to the opposite wall at a height of 1-1.4 m so that the camera is at the same height as the point of view. This will make the scene of the picture more pronounced, resembling a professional photographer's image.
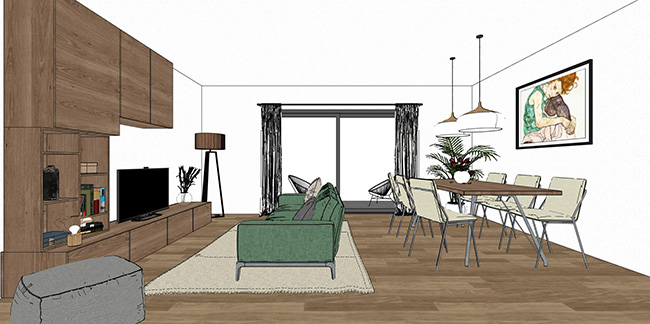
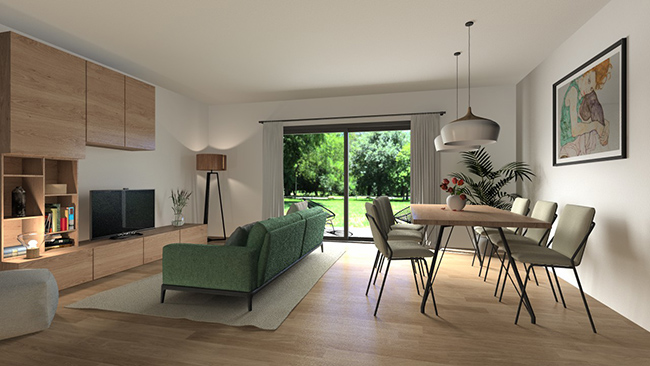
Scene with good point of view setting
Of course, this is not a rule that cannot be "broken". If necessary from this position, you can take small steps to turn towartds the corner (while making test renders), but don't overdo it.
Render image with turned viewpoint
2) The camera angle should be between 50° and 70°, otherwise the scene will be deformed.
For the Viewpoint setting, enter the following values:
Camera Z - 1.095
Subject Z - 1.095
Angle - 60°
Camera position - X: 0.594, Y: 5.809, Z: 1.095
Subject position - X: 0.594, Y: -0.207, 1.095
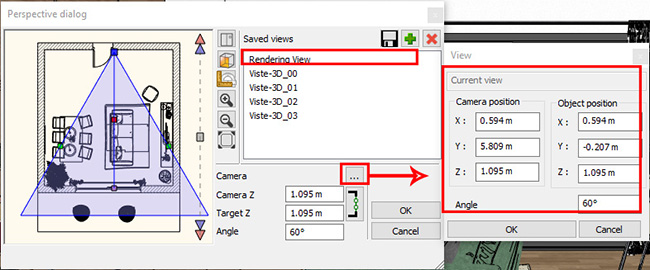
Perspective settings window
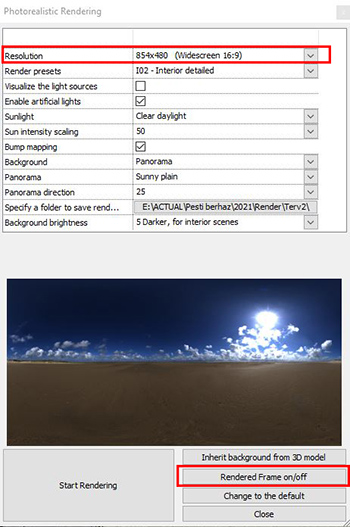
At this point you can also adjust the size of the image. Of course, here it's only at a low resolution. In the rendering settings, in the Standalone Rendering window, set the Resolution to 854x480 and turn on the Render frame. It's a good idea to leave this on as you work, so that if you use a new viewpoint or modify an existing one, you can keep track of what you'll see in the render.